Before You Start
Set Up For Honest Listening
The goal is not to make your headphones sound exciting. The goal is to make every frequency area sound more even so your mix decisions become more reliable.
Use a quiet room.
Wear your headphones the way you normally work.
Make sure the ear pads seal properly around your ears.
Use a comfortable listening level. Do not calibrate loud.
Step 1
Create A New Curve
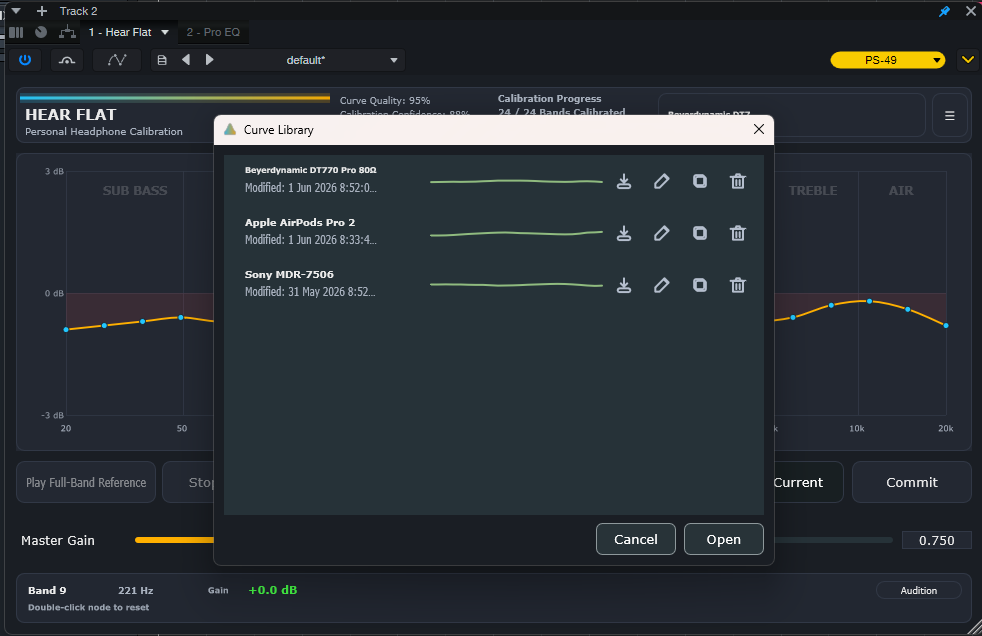
Open Hear Flat, choose New Curve, and name the curve after your headphones. This gives that pair of headphones its own correction curve.
- Audio-Technica ATH-M50x
- Beyerdynamic DT770
- Sony MDR-7506
- AirPods Pro 2
Step 2
Start With Pink Noise
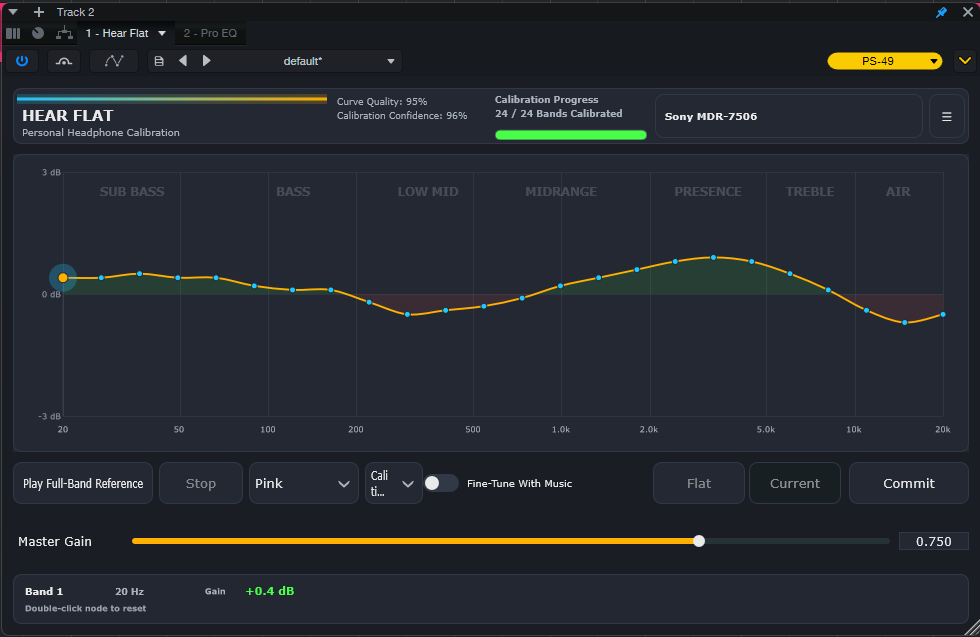
Choose Pink in the noise selector, then press Play Full-Band Reference. Pink noise is usually the best starting point because it feels more balanced across low, mid, and high frequencies.
Listen To The Reference, Not The Tone
The full-band pink noise is your reference. Do not try to make it sound good. Listen to its overall loudness and tonal balance so you have something to compare each isolated band against.
Step 3
Calibrate One Band At A Time
Click and hold a frequency node. Hear Flat temporarily isolates that part of the sound. Compare it to the full-band reference and ask one question: does this band sound louder, quieter, or about the same?
If it sounds louder: drag the node down.
If it sounds quieter: drag the node up.
If it sounds even: leave it near where it is.
Step 4
Start In The Midrange, Then Work Outward
Do not start with deep bass or very high treble. Start around the midrange because it is easier to judge and anchors the rest of the calibration.
Listening Technique
Use Short Listening Bursts
Use short 1 to 3 second checks, then release the node and return to full-band noise. Your ear adapts quickly. If you listen to one band too long, it can start to feel normal even when it is not.
Commit Often
After adjusting several bands, press Commit. Commit is safe. It acts like an autosave of your working copy and does not permanently overwrite your saved curve.
Frequency Map
What Each Area Usually Sounds Like
Use these ranges as listening clues. They are not strict rules, but they help you name what you are hearing.
Sub Bass
20 Hz to 66 HzRumble, pressure, and low-end weight. Lower it if it feels too powerful. Raise it slightly if it disappears.
Bass
90 Hz to 221 HzPunch, thickness, and body. Lower it if it sounds boomy. Raise it if the tone feels thin.
Low Midrange
298 Hz to 735 HzMud, boxiness, or cloudiness. Lower it if the noise feels congested. Raise it if it feels hollow.
Midrange
992 Hz to 1809 HzVocal body and forwardness. Lower it if it sounds honky or nasal. Raise it if it feels distant.
Presence
2443 Hz to 4455 HzBite, sharpness, and vocal edge. Small moves matter here. Lower it slightly if it jumps out.
Treble
6016 Hz to 10969 HzHiss, brightness, and sibilance. Lower it if it feels piercing. Raise it carefully if it feels dull.
Air
14811 Hz to 20000 HzOpenness and top-end sparkle. Do not over-adjust this area because ears fatigue quickly here.
Quality Check
Watch Curve Quality And Calibration Confidence
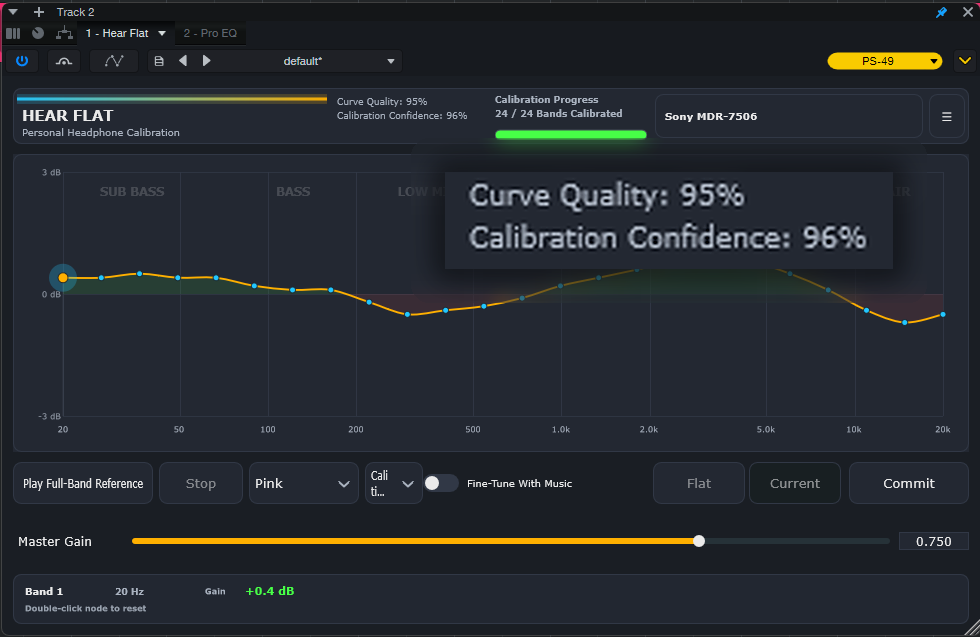
Curve Quality tells you whether your correction curve looks smooth and reasonable. Calibration Confidence tells you how much evidence Hear Flat has that your curve was carefully verified.
- Revisit bands more than once.
- Make small adjustments.
- Use Fine Tune With Music.
- Commit your progress as you work.
Noise Choice
Use White Noise Only As A Check
Pink noise should be your main calibration tool. White noise is brighter and more fatiguing. Use it briefly if you want to check treble, and stop if it feels harsh.
Volume Rule
If the noise feels painful, harsh, or tiring, lower the volume or take a break. A rushed calibration is usually worse than no calibration.
Fine Tune With Music
Verify The Curve With Songs You Know
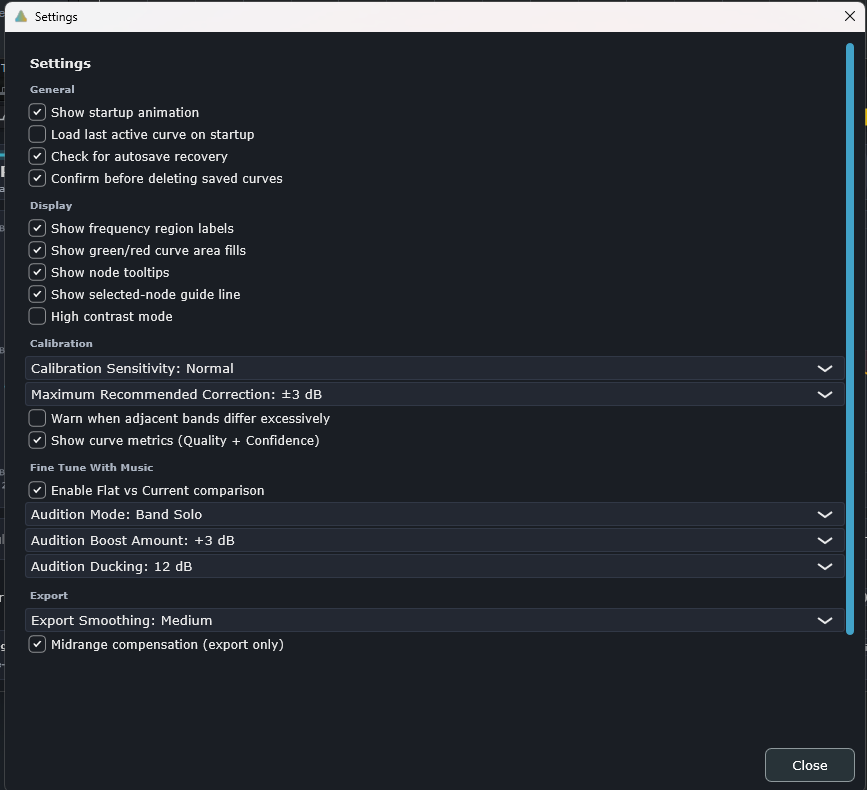
After the noise calibration feels balanced, turn on Fine Tune With Music and play familiar music through your DAW. Make very small moves, usually 0.5 dB to 1.0 dB.
Compare
Use Flat Vs Current
Flat means the correction curve is not applied. Current means your correction curve is active. Switch between them while music plays and ask whether Current sounds more balanced, natural, and controlled.
If Current sounds better, keep moving carefully.
If Current sounds worse, undo the last adjustment or reduce the move.
If you are unsure, take a short break and compare again.
Find Problem Areas
Use Band Audition In Fine Tune Mode
If something in the music bothers you, select a nearby node and use Audition to focus on that frequency region. Use it to identify the problem area, then return to the full mix before judging the adjustment.
Example
If a vocal sounds harsh, check the presence or treble area. Make a small adjustment, then listen to the full song again instead of making the isolated band sound good by itself.
Finish
Save, Create Variations, And Export
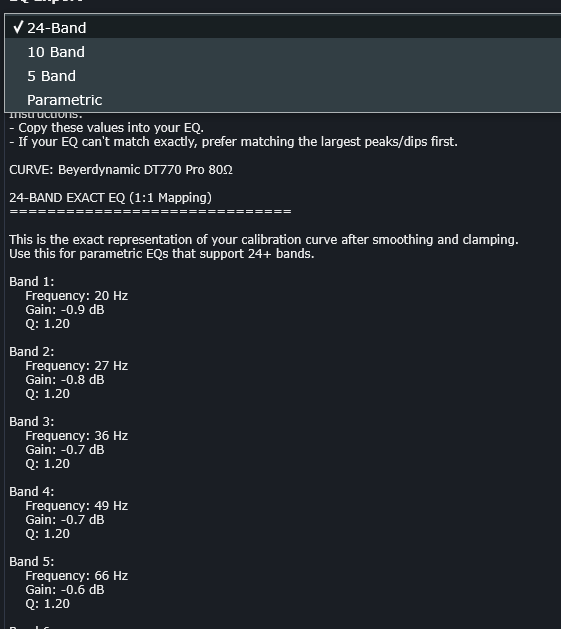
When the curve feels balanced, press Save. You can reopen it later from the Curve Library, create variations with Save As, or export the correction to recreate it in another EQ.
- 24-Band for exact Hear Flat mapping.
- 10-Band for common graphic EQ workflows.
- 5-Band for simple stock EQs.
- Parametric for flexible EQ plugins.
- Save As for variations such as Neutral, Warm, or Bright Check.
Ear Fatigue
Take Breaks Before Your Judgment Drifts
Your ears get tired, especially around 2 kHz to 5 kHz and 6 kHz to 12 kHz. If everything starts sounding harsh, stop and take 2 to 5 minutes of silence before continuing.
Better Slow Than Wrong
A careful calibration does not need to be finished in one pass. If your ears are tired, save or commit your progress and come back with fresh judgment.
Mindset
Do Not Chase Excitement
Hear Flat is for calibration. Calibration means making the headphones more even. After that, you can still make creative EQ decisions while mixing.
The Most Important Rule
Do not listen for what sounds best. Listen for what sounds equal. When no frequency band jumps out, your headphones are closer to flat.
Quick Start Summary
Run The Whole Workflow
- Create a new curve.
- Select Pink noise.
- Press Play Full-Band Reference.
- Start in the midrange.
- Click and hold a node.
- Drag down if the band sounds too loud.
- Drag up if the band sounds too quiet.
- Release to return to full-band noise.
- Work through all 24 bands.
- Press Commit often.
- Turn on Fine Tune With Music.
- Use Flat vs Current to compare.
- Make small final adjustments.
- Save the curve.
- Export EQ settings if needed.